Here it is folks! Chevy Express Camper Van Conversion, Keeping it Simple
This is my simple camper van conversion idea for a Chevy Express, an ‘8 step How to Guide’ on exactly what I did to convert a gutted out Chevrolet Express work van into a home on wheels.

I would just like to preface this by saying that I am in no way a handy / fixer / maintenance man. This is the first thing of the sort that I have done. There are many people who could do it better, quicker, cleaner… but this is what I did.
I am super happy with the result and therefore wanted to publish a simple van conversion chevy express guide, step-by-step, so someone else may be inspired to do the same. I enjoyed the entire process of working on something that was mine, knowing that the amount of effort put in would directly affect my future fun – cutting corners would only come back to bite me.
So here it is…
The Simple DIY Camper Van Conversion Idea For a Chevy Express
Sleeps two; lounge area, outdoor bar / kitchen, stores full set of cold weather kayaking equipment, snowboard, skateboard, climbing gear, fishing rod, my life’s belongings and a house plant.
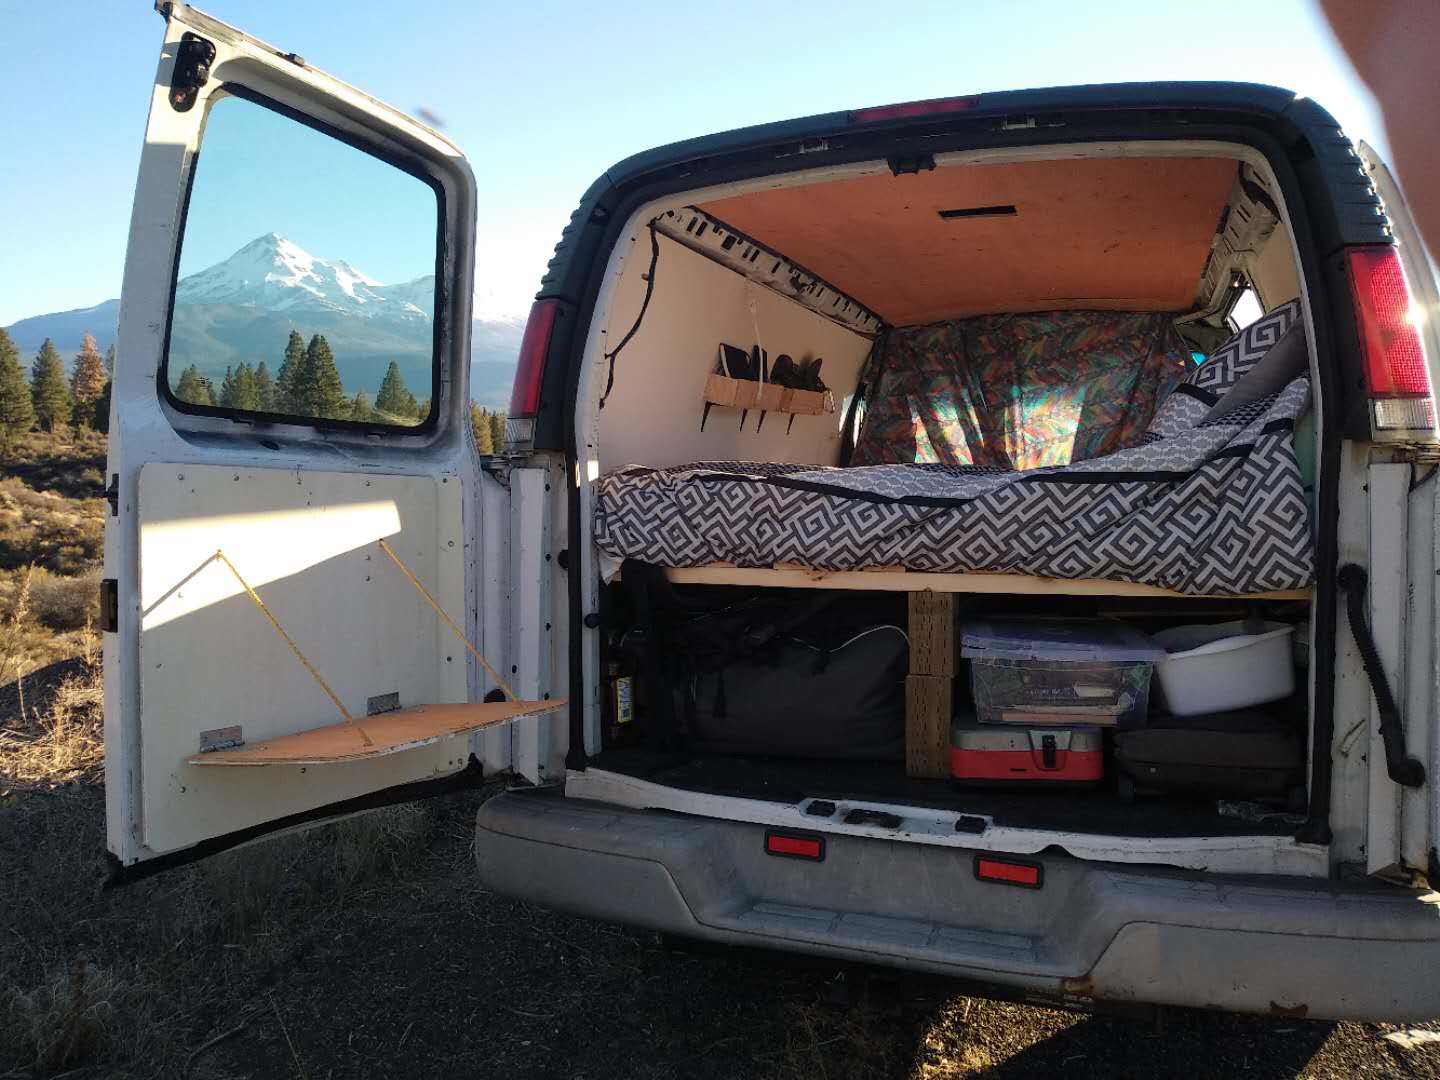
Before you can build your camper…
The Tools & Materials You’ll Need For Converting a Camper Van
There are certain tools that you really are going to need to help make your van conversion process as smooth and easy as possible. You may already have some of this at home or a friend / family member willing to let you borrow tools for the build.
Once it’s done you’ll also want some camping essentials to start living life on the road!
Whatever the case, these are the things I really couldn’t have done it without:
- Plywood
- Furring strips
- Insulation – thickness depends on the climate you plan to be in
- Free carpet!
- Screws
- Cordless drill
- Foam mattress – foam can be cut down to shape if need be
- Luminoodle light strip powered by an Anker Powercore – this means the power bank charges through the 12V cigarette lighter whilst you drive, which then powers your phone & lights in the evening
- Great Stuff – expanding foam, I think I used 3 of these
- Gorilla Tape – absolutely essential
- 3M Adhesive Spray
- Paint
- Reflectix – for making your window privacy covers
- Twin camping stove & gas
- Cutlery and plate set
- Pots and pans set
- Cool box for food
- Camping shower – these things are incredible and surprisingly hot
Once you’ve purchased the items above, you will be well on your way to making your van into a home! Re-use-it centres, secondhand stores and other quirky types of thrift stores are excellent places for picking up cheap furniture to put into your van.

STEP 1 – Choosing Your Future Camper
This step is sometimes chosen for you. Not everyone has the luxury of choosing whatever vehicle they desire, often you gotta go with what is on offer locally and what is within your price range.
A few things to take into consideration:
- Are you going full-time or part-time van life?
- Will you be living in your van during the winter?
- Are you going solo? Or will a partner be joining you? Or a pet?
- How much equipment will you need to store?
- Are you going deep back-country / bush whacking?
Different needs will require a different layout that may only be achievable with a certain vehicle. For me, I was planning on using my van during 3 seasons, skipping out winter and therefore saving on a lot of costs and work. I wanted enough space for travelling friends to tag along for a week or two if they wanted, and I also needed to store all my work gear (which is a lot).
With all that in mind, I was fortunate to happen upon a 2001 Chevy Express for sale right near where I was living, at a decent price.

STEP 2 – Choosing Your Design
It’s important to get this right, as all the next steps will be running off this basis.
The main things to consider here are the bed and storage. Double bed, single bed that folds out; length ways, width ways, cupboards etc. There are some really creative ideas out there of how to fit an entire family of 4, a dog, 2 cats, a hot tub and still have room for your grandparents to visit for Christmas dinner.
But I decided to keep it simple. Large bed taking up the back end, with permanent storage underneath leaving space up front for lounging.
I didn’t want to faff around moving hinges and pressing secret buttons in order to go to sleep every night so I liked the idea of having everything as is.
STEP 3 – Prepping
This step is about getting everything ready before you get stuck in. If you really have your shit together, you’ll know exactly what tools you need for the entire process, can get it all in one big trip then sit back all smug knowing you’re on the ball.
This was not what I did.
I went to the hardware store 3 times in one day in order to pick up pieces that I’d forgotten or overlooked… but you’re here to learn from my mistakes so you won’t be doing that!
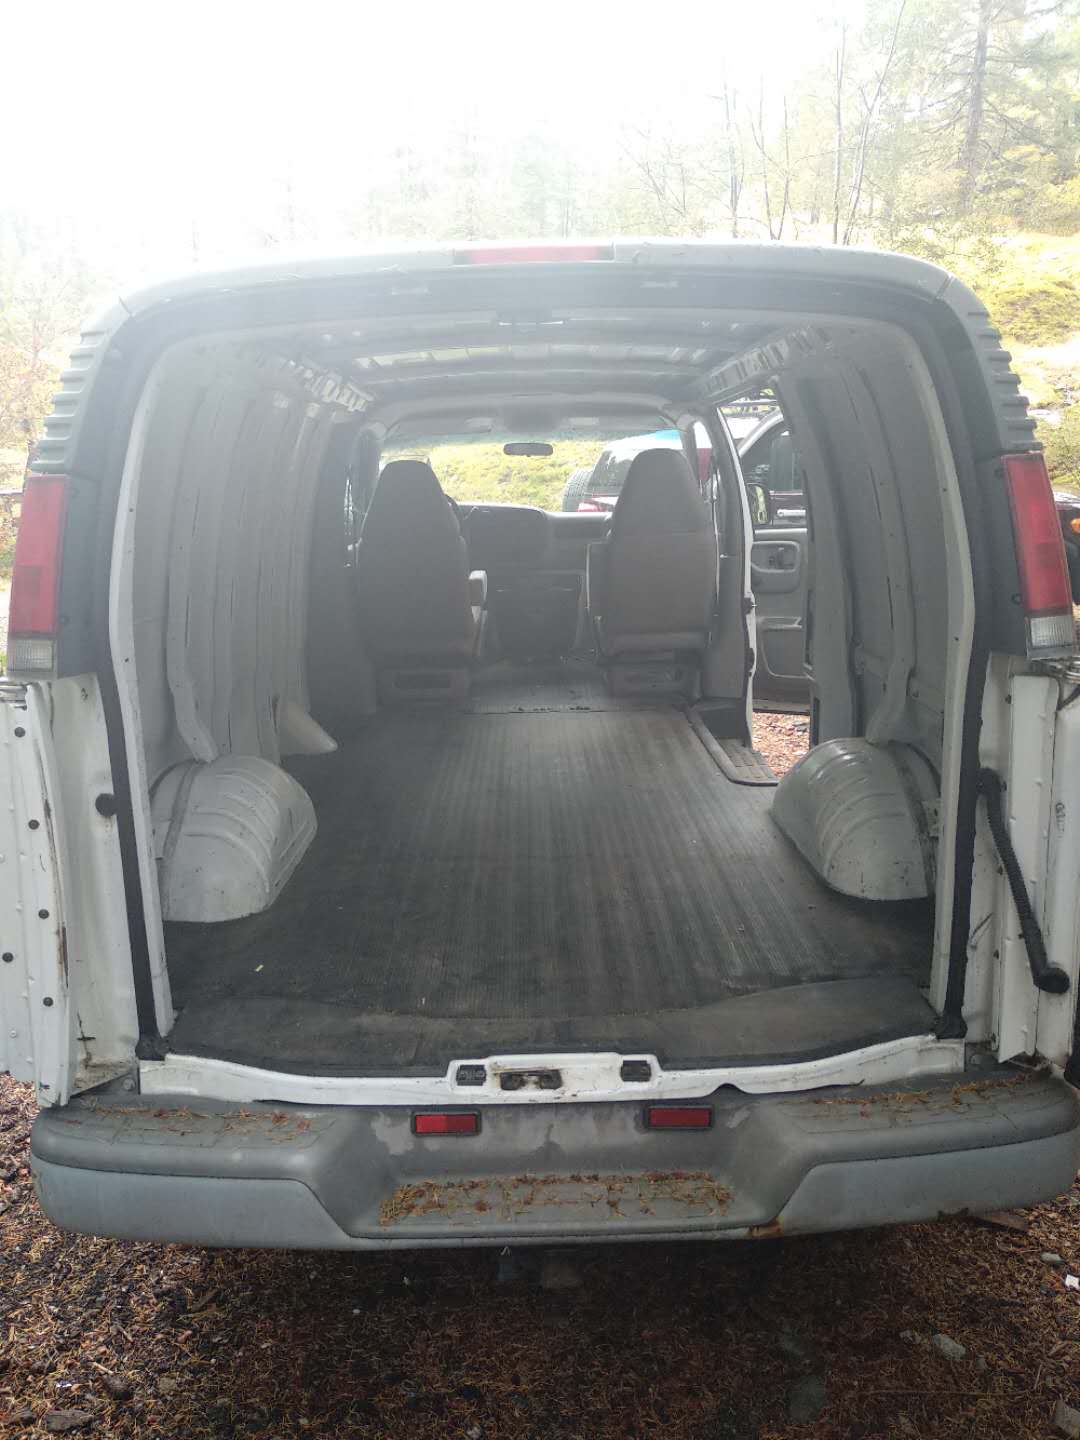
The first thing you want to do is give her a deep clean. I was fortunate that my van was pretty much gutted out already and had a solid flooring so just needed a sweep and a tidy. Depending how old your van is or your thoroughness, you may need to lift off some panel work and de-rust and remove mould.
As mentioned, I decided to keep for floor as is. The rubber mat allowed for easy cleaning and there was some insulation underneath already.
Next up, tools and equipment.

I picked up a few more bits as I went, but that’s the bulk of it.
STEP 4 – Van Insulation
This section will obviously vary depending on your climate and the seasons you wish to be in the van. I’m in Canada and plan on 3 seasons, so some insulation was necessary but I wouldn’t have to add a heater or fireplace or deal with the issues that they would bring about. Good insulation will keep your van warmer in the winter and cooler in the summer.
For me the focus was on the walls and ceiling.
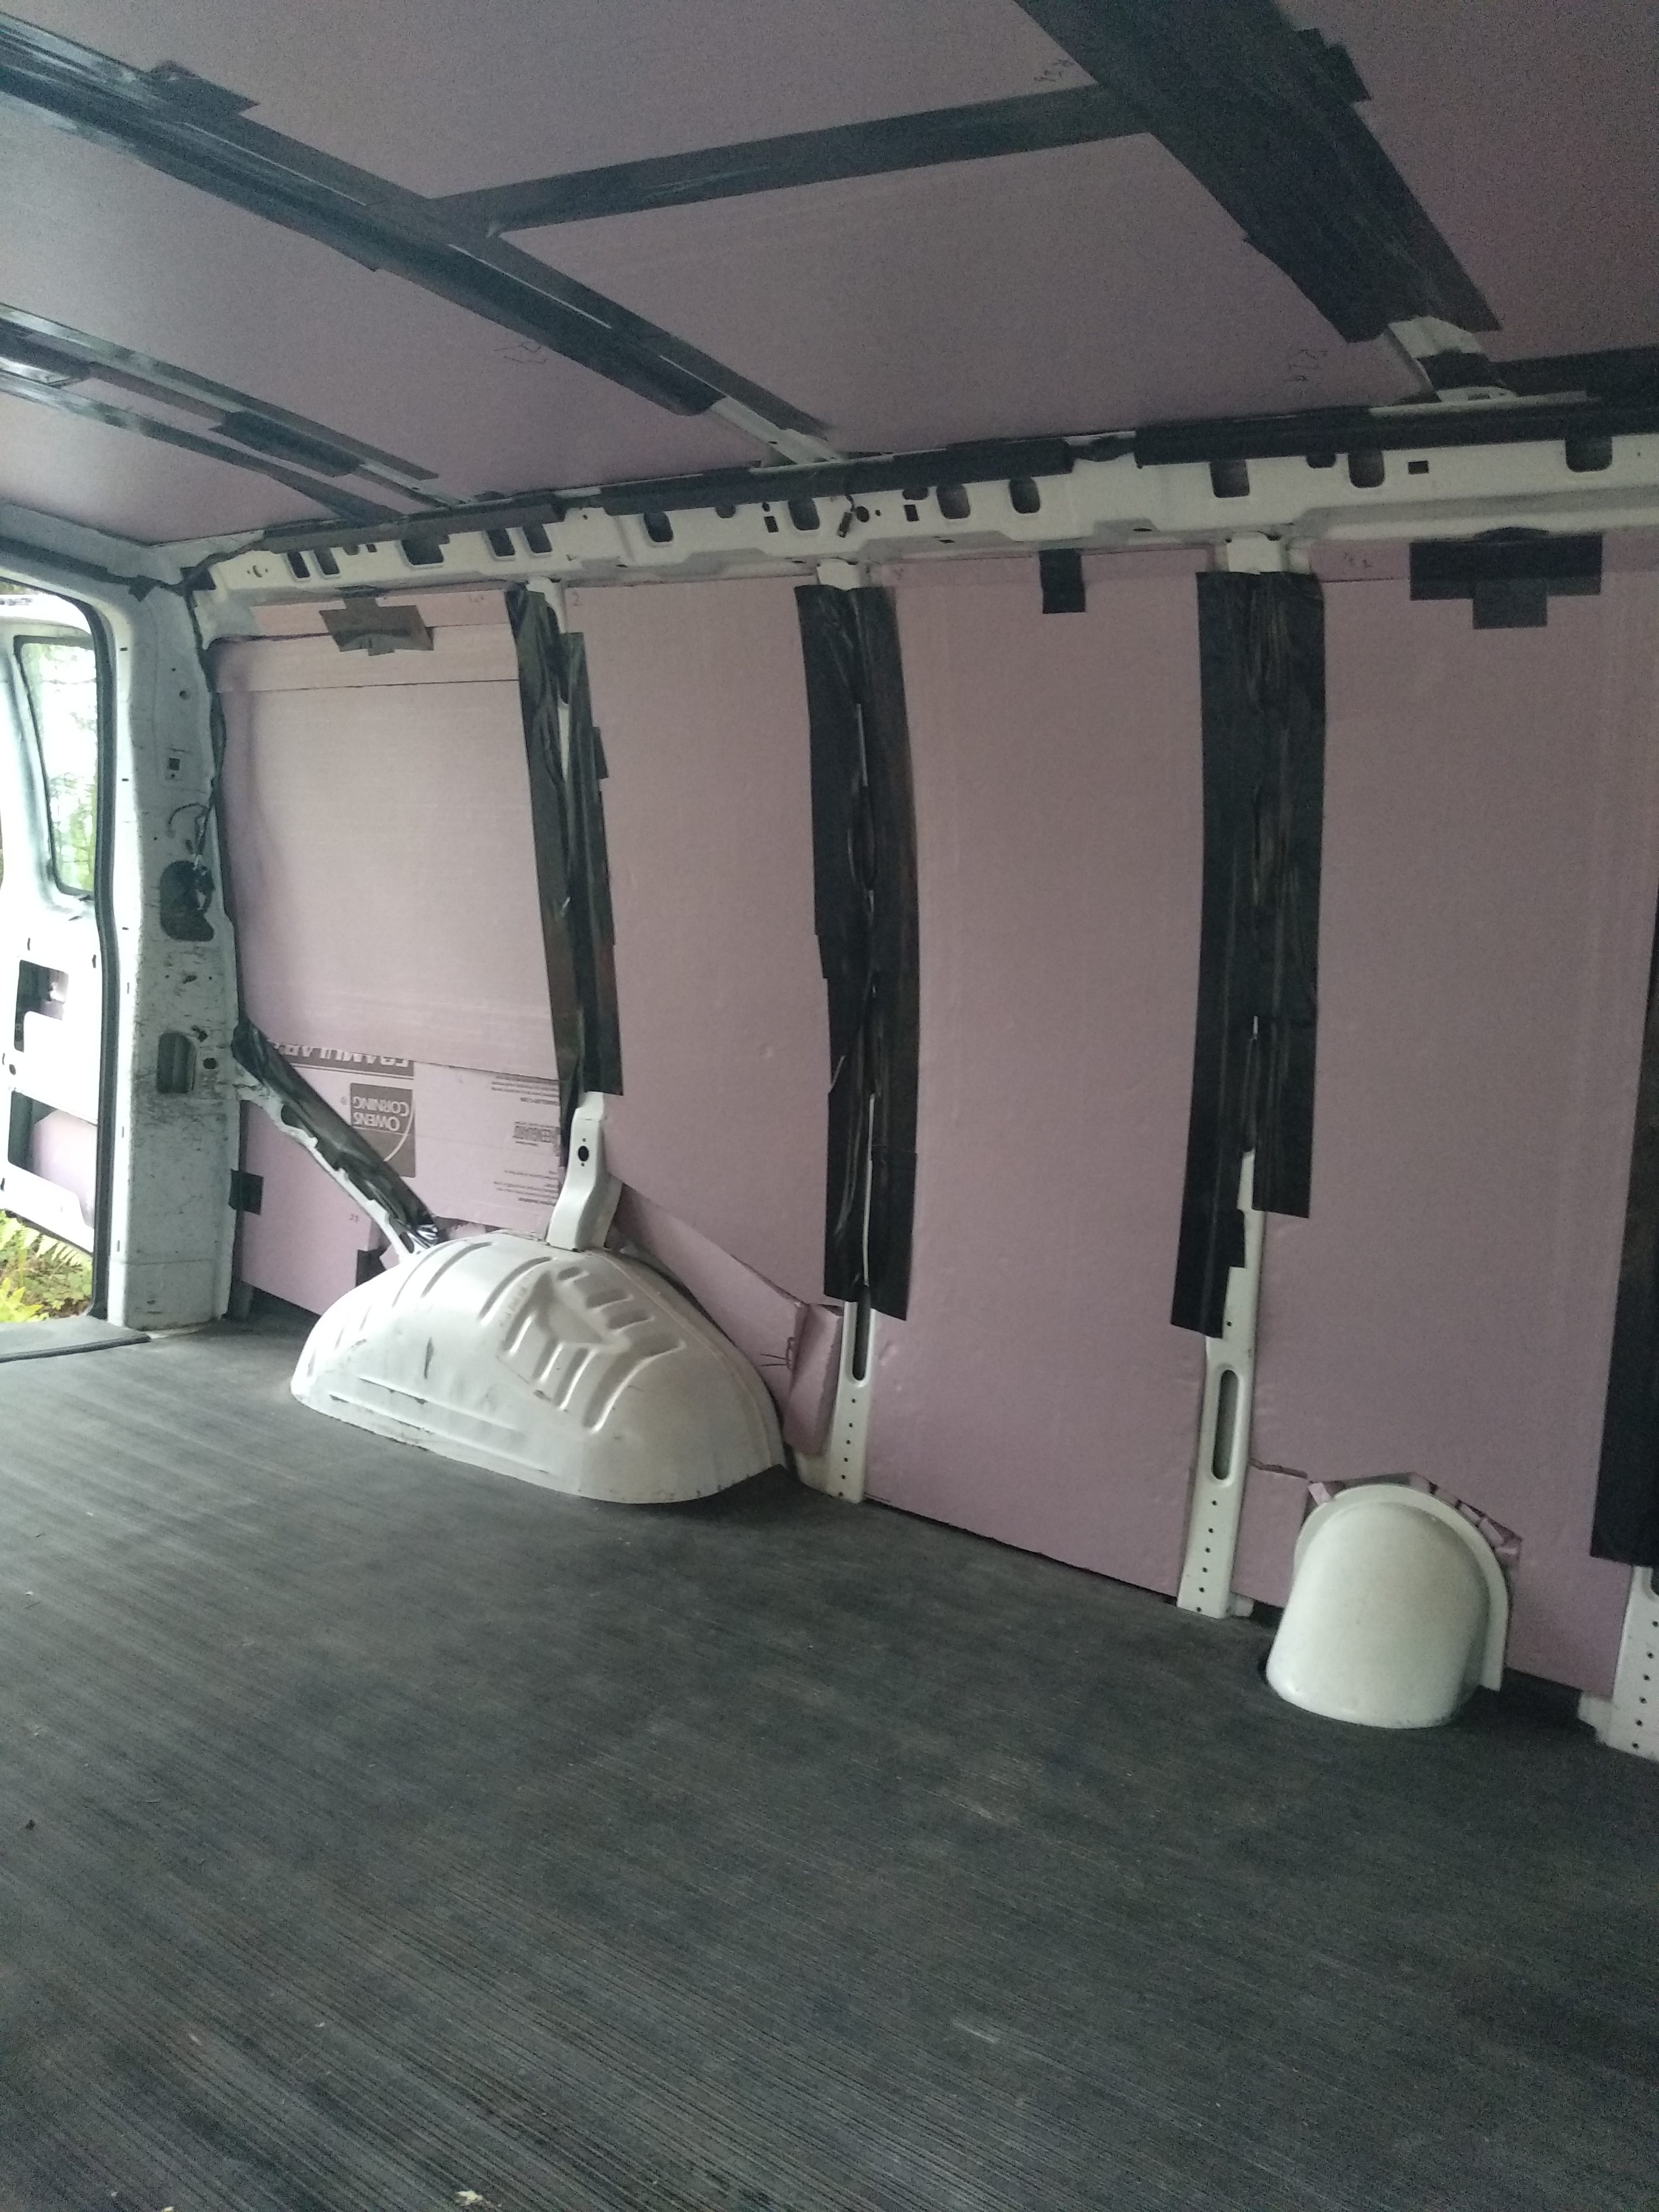
I measured the rigid insulation to fit between the ‘ribs’ of the van, cutting pieces to size around the abnormalities. Most would stay in place unaided, but I secured it with gorilla tape and adhesive spray to stop any moving around. Same for the ceiling.
STEP 5 – Walls and Ceiling
In order not to drill holes in the side of the van, furring strip are put in as a buffer.

These follow along the walls and ceiling. Be sure to make a note of where they are, as you won’t see them once the plywood is in place.
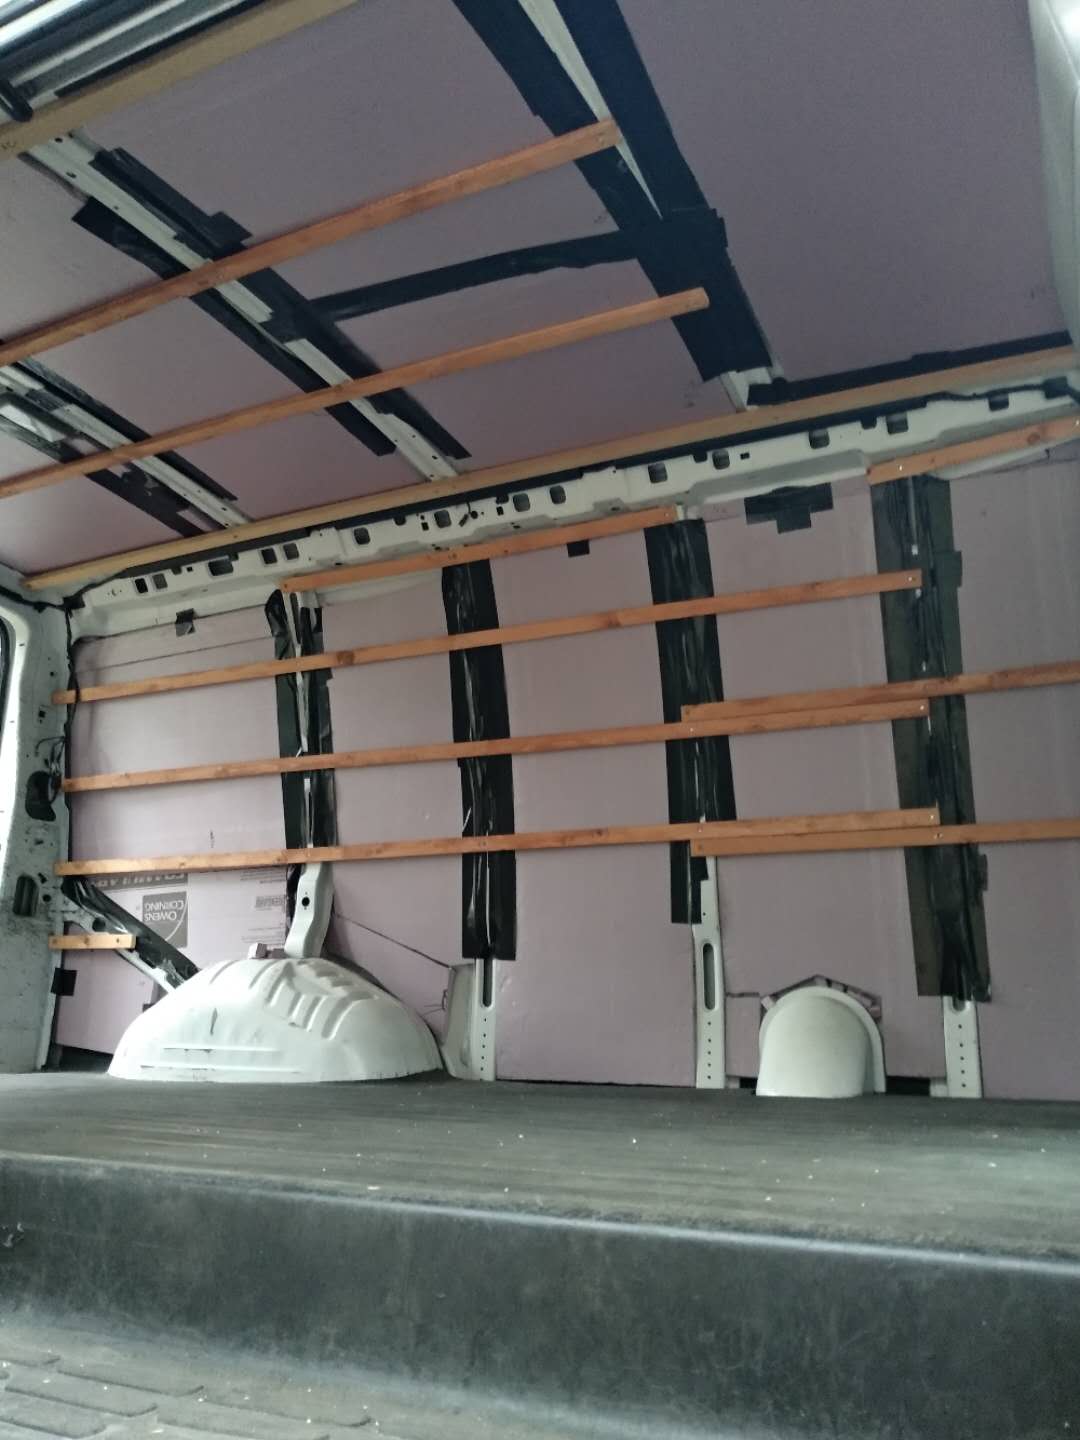
Use some expanding foam to fill in any small gaps that are still exposed.
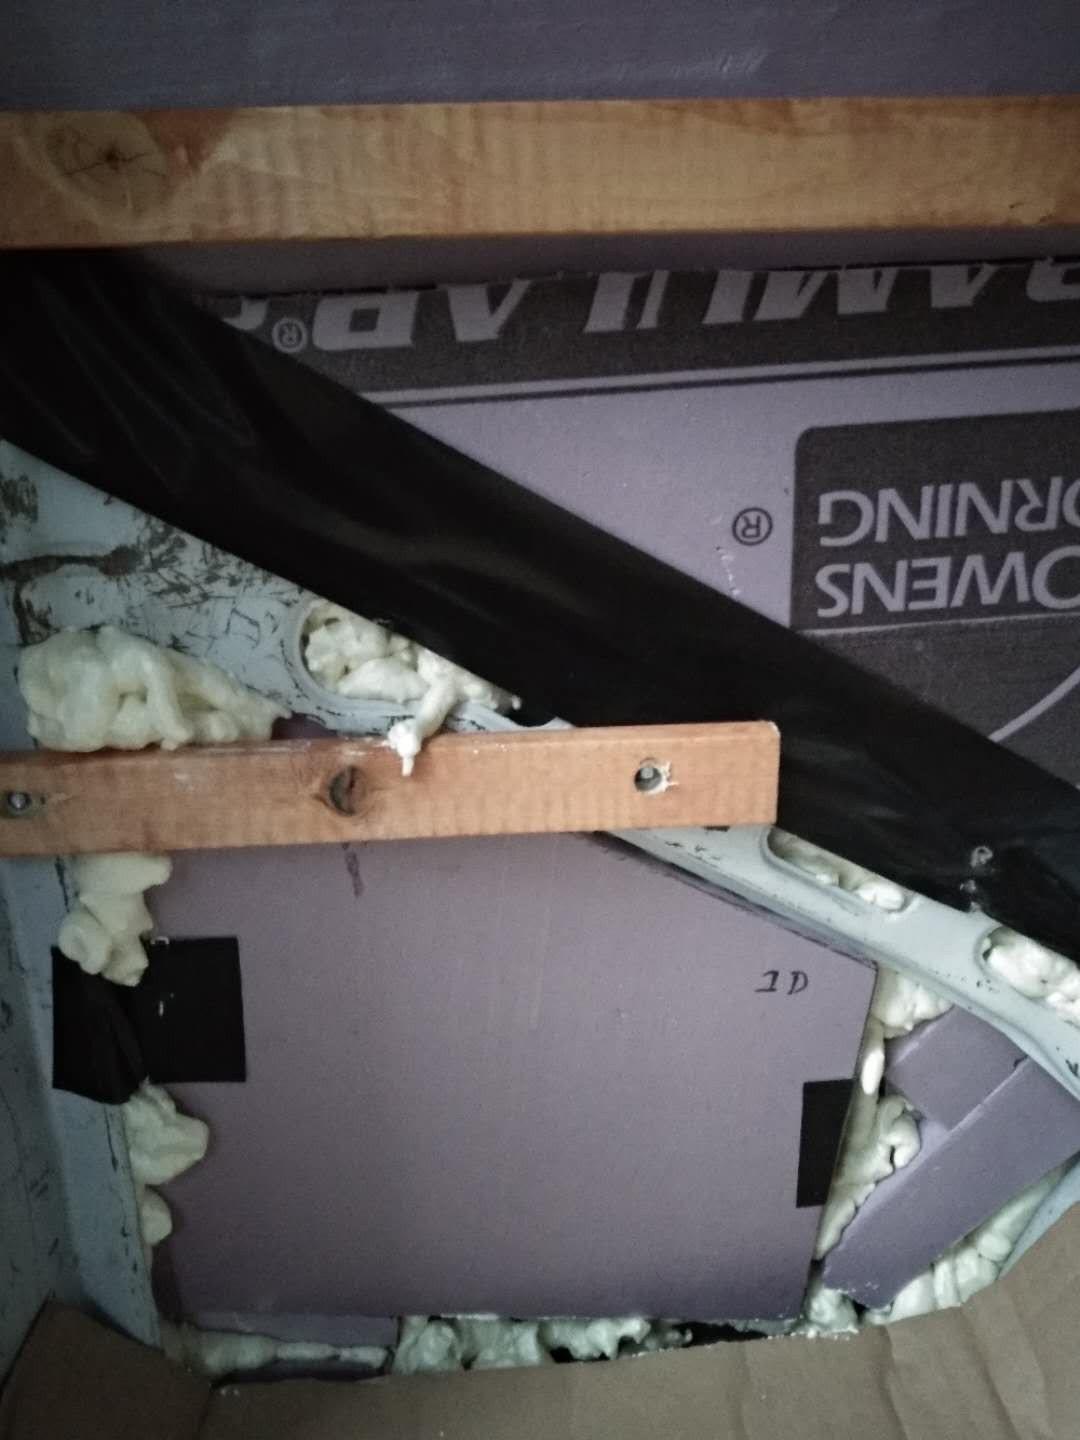
Side note: don’t get any on your shoes!
The next step is to measure the plywood for the walls, particularly around the wheel arches and other awkward parts.
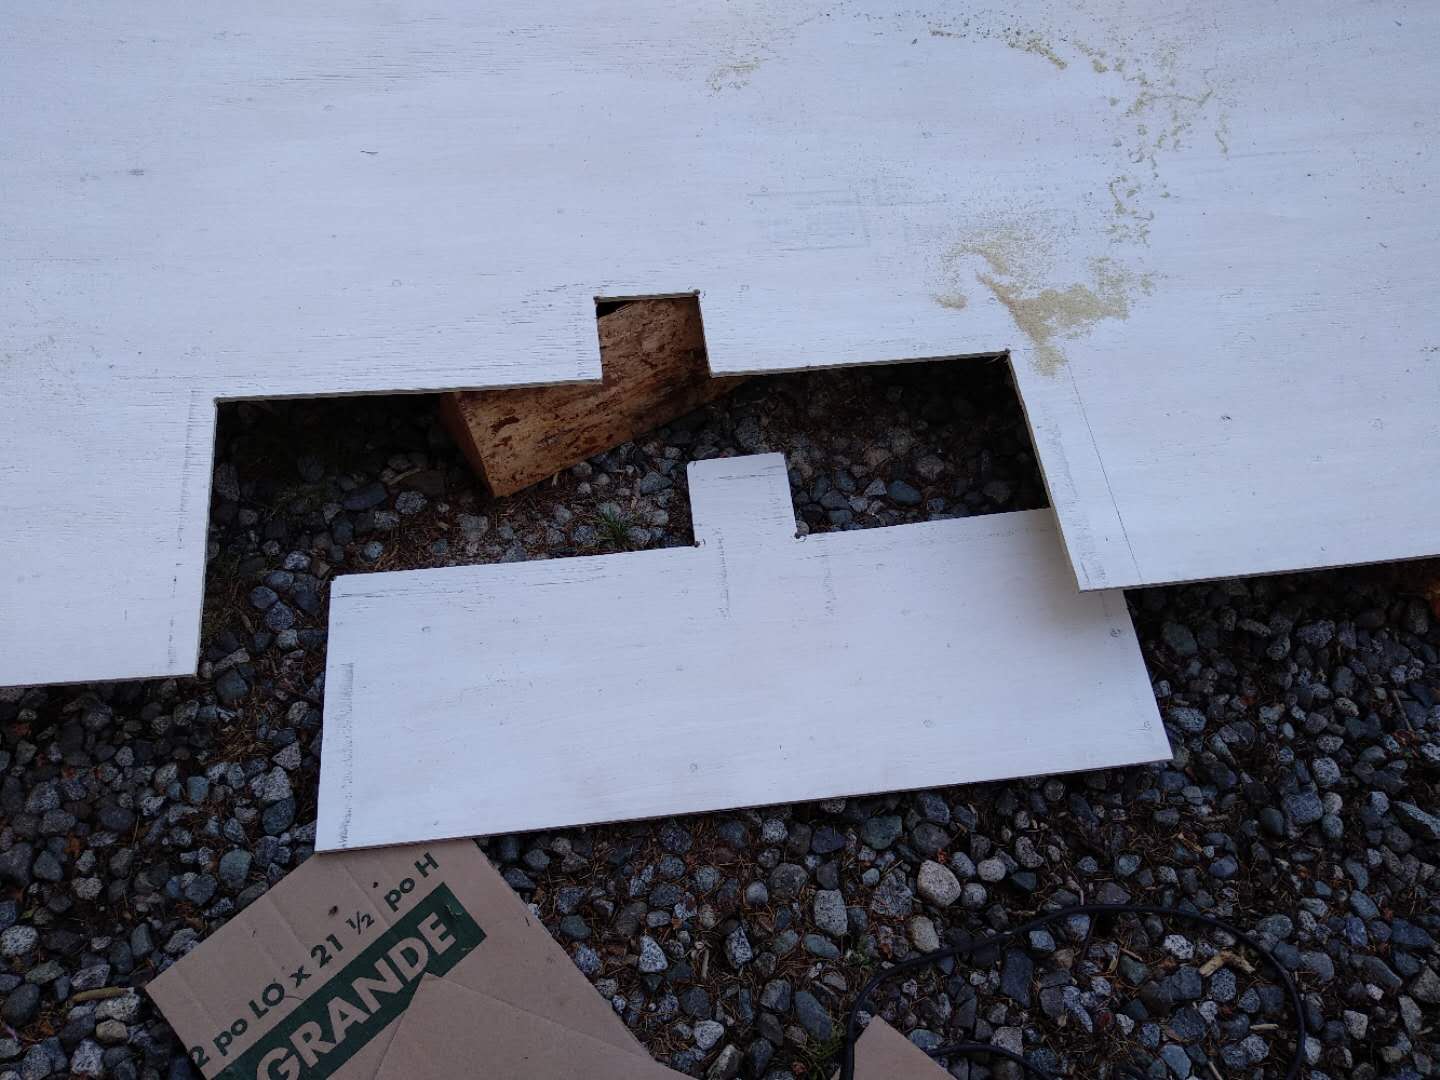
Time to get the walls and the ceiling attached. It’s up to you if you want to paint them prior to putting them in, it doesn’t make much difference. I ended up painting the wrong side anyway and had to redo it…

Now it’s starting to take shape!
STEP 6 – Making a Camper Bed
This is the most important part of the entire process. It’s the one place where you spend the majority of your life. It can make or break your next day. You could take out every single other step and just put a bed in a car (which many people successfully do) and you’ll be alright. So think carefully about what you’re going to do here.
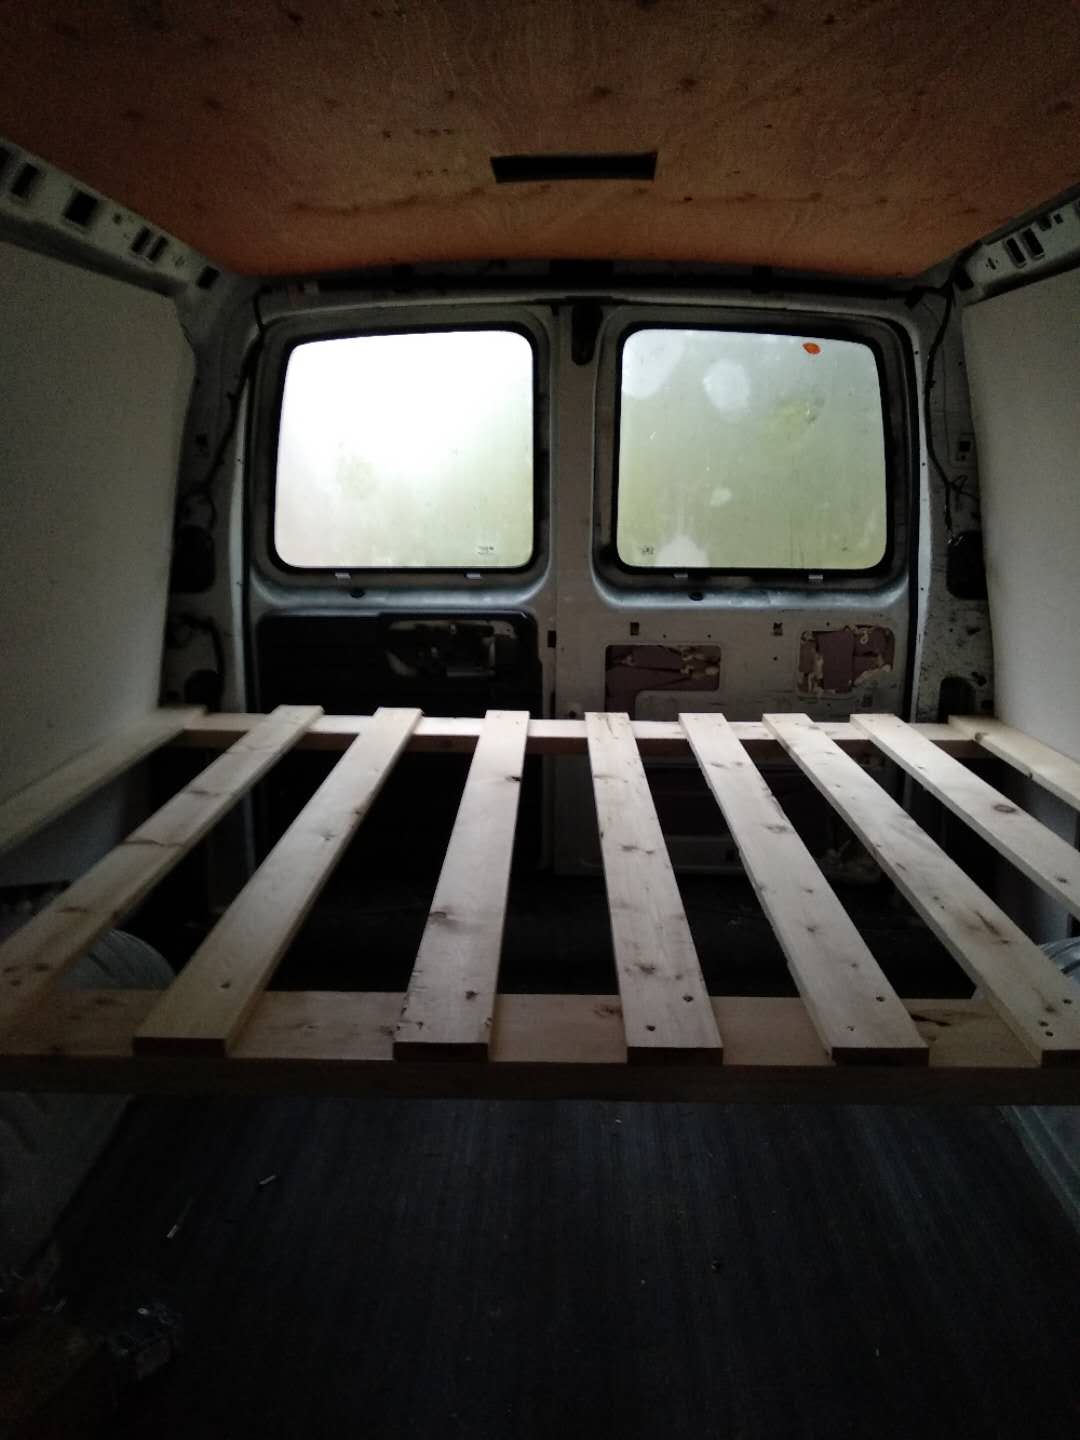
I’m 6’2″ft. and opted for a full size bed. Which is 54” X 75” or 134.5cm X 190.5cm. Due to the walls and insulation added in, it actually falls slightly short on length. But I sleep curled up on my side so it wasn’t an issue for me.
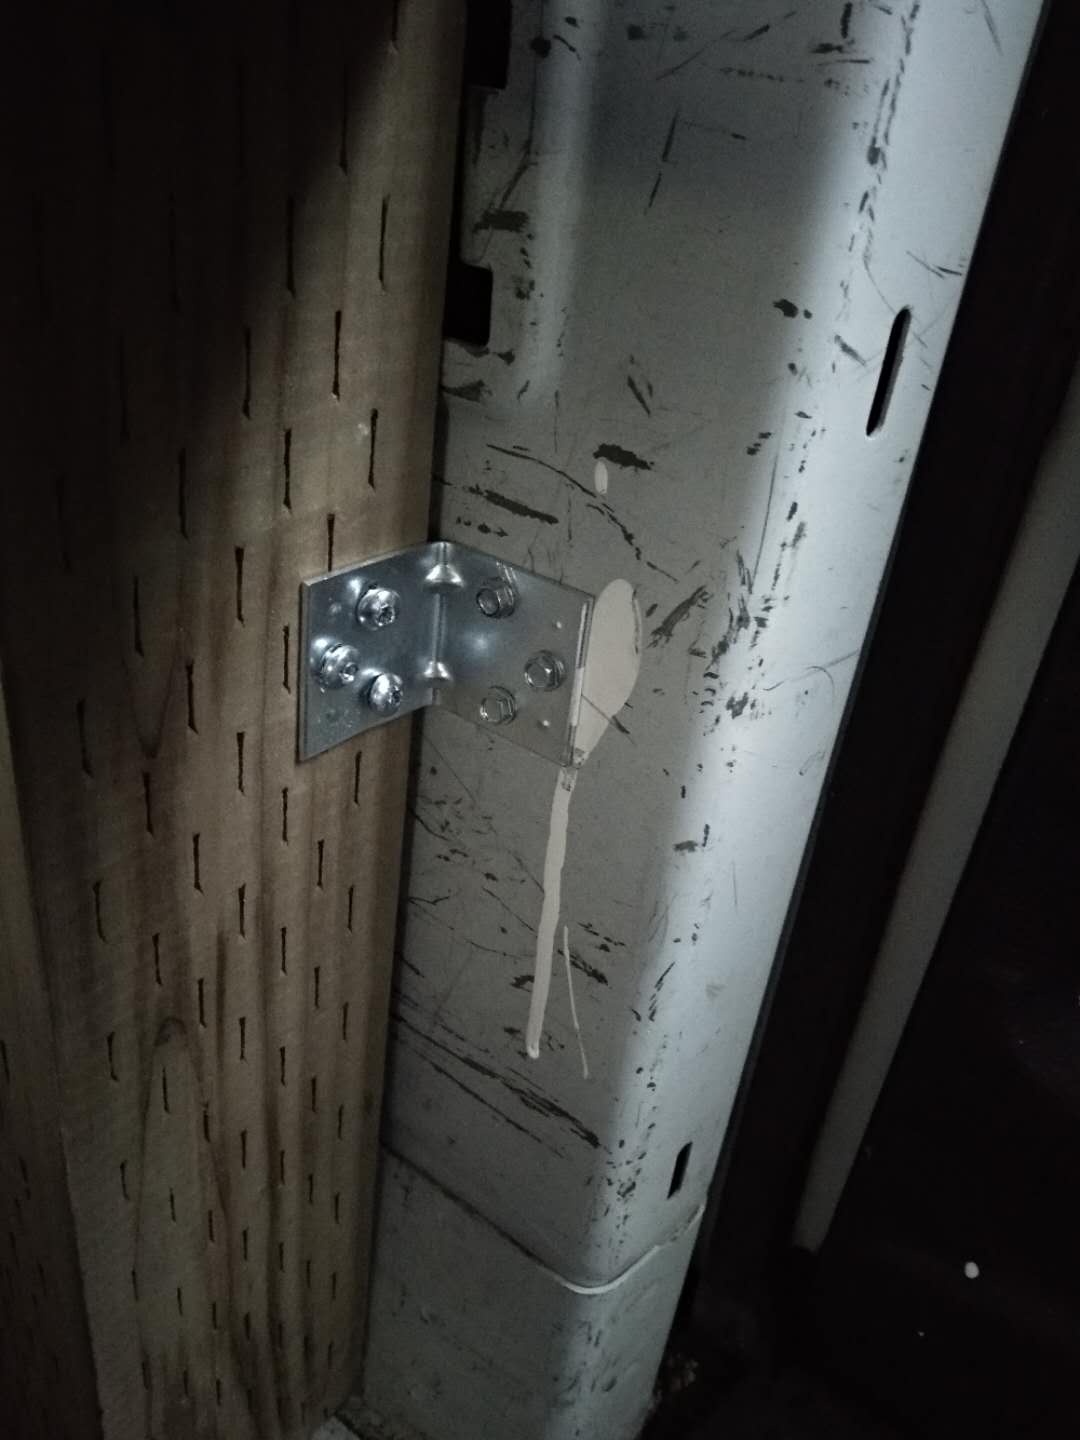
I secured 4 posts to the actual van so as to stop movement whilst driving. I then added two beams, one on the front and one on the back from post to post. The bedding strips are then screwed directly onto those, creating a bed frame.
STEP 7 – Furnishings
After finishing off the door panels in the same way as the other walls, it was time to add some homely touches. Creativity and good use of space really comes into play here.
I added some shelves using leftover plywood.

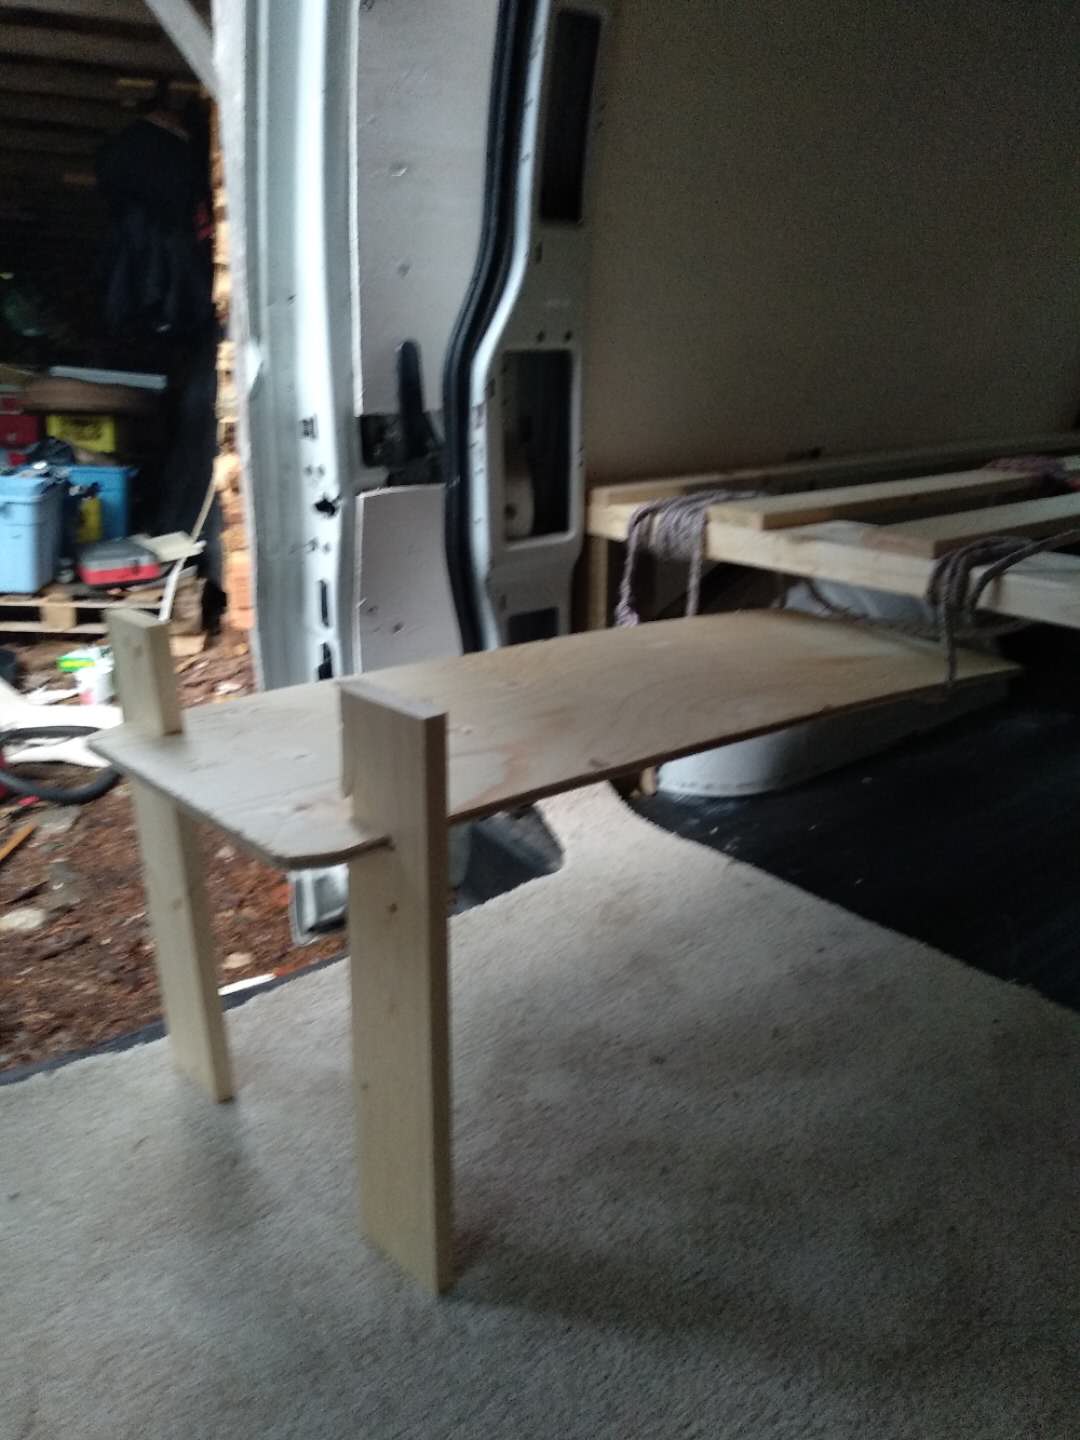
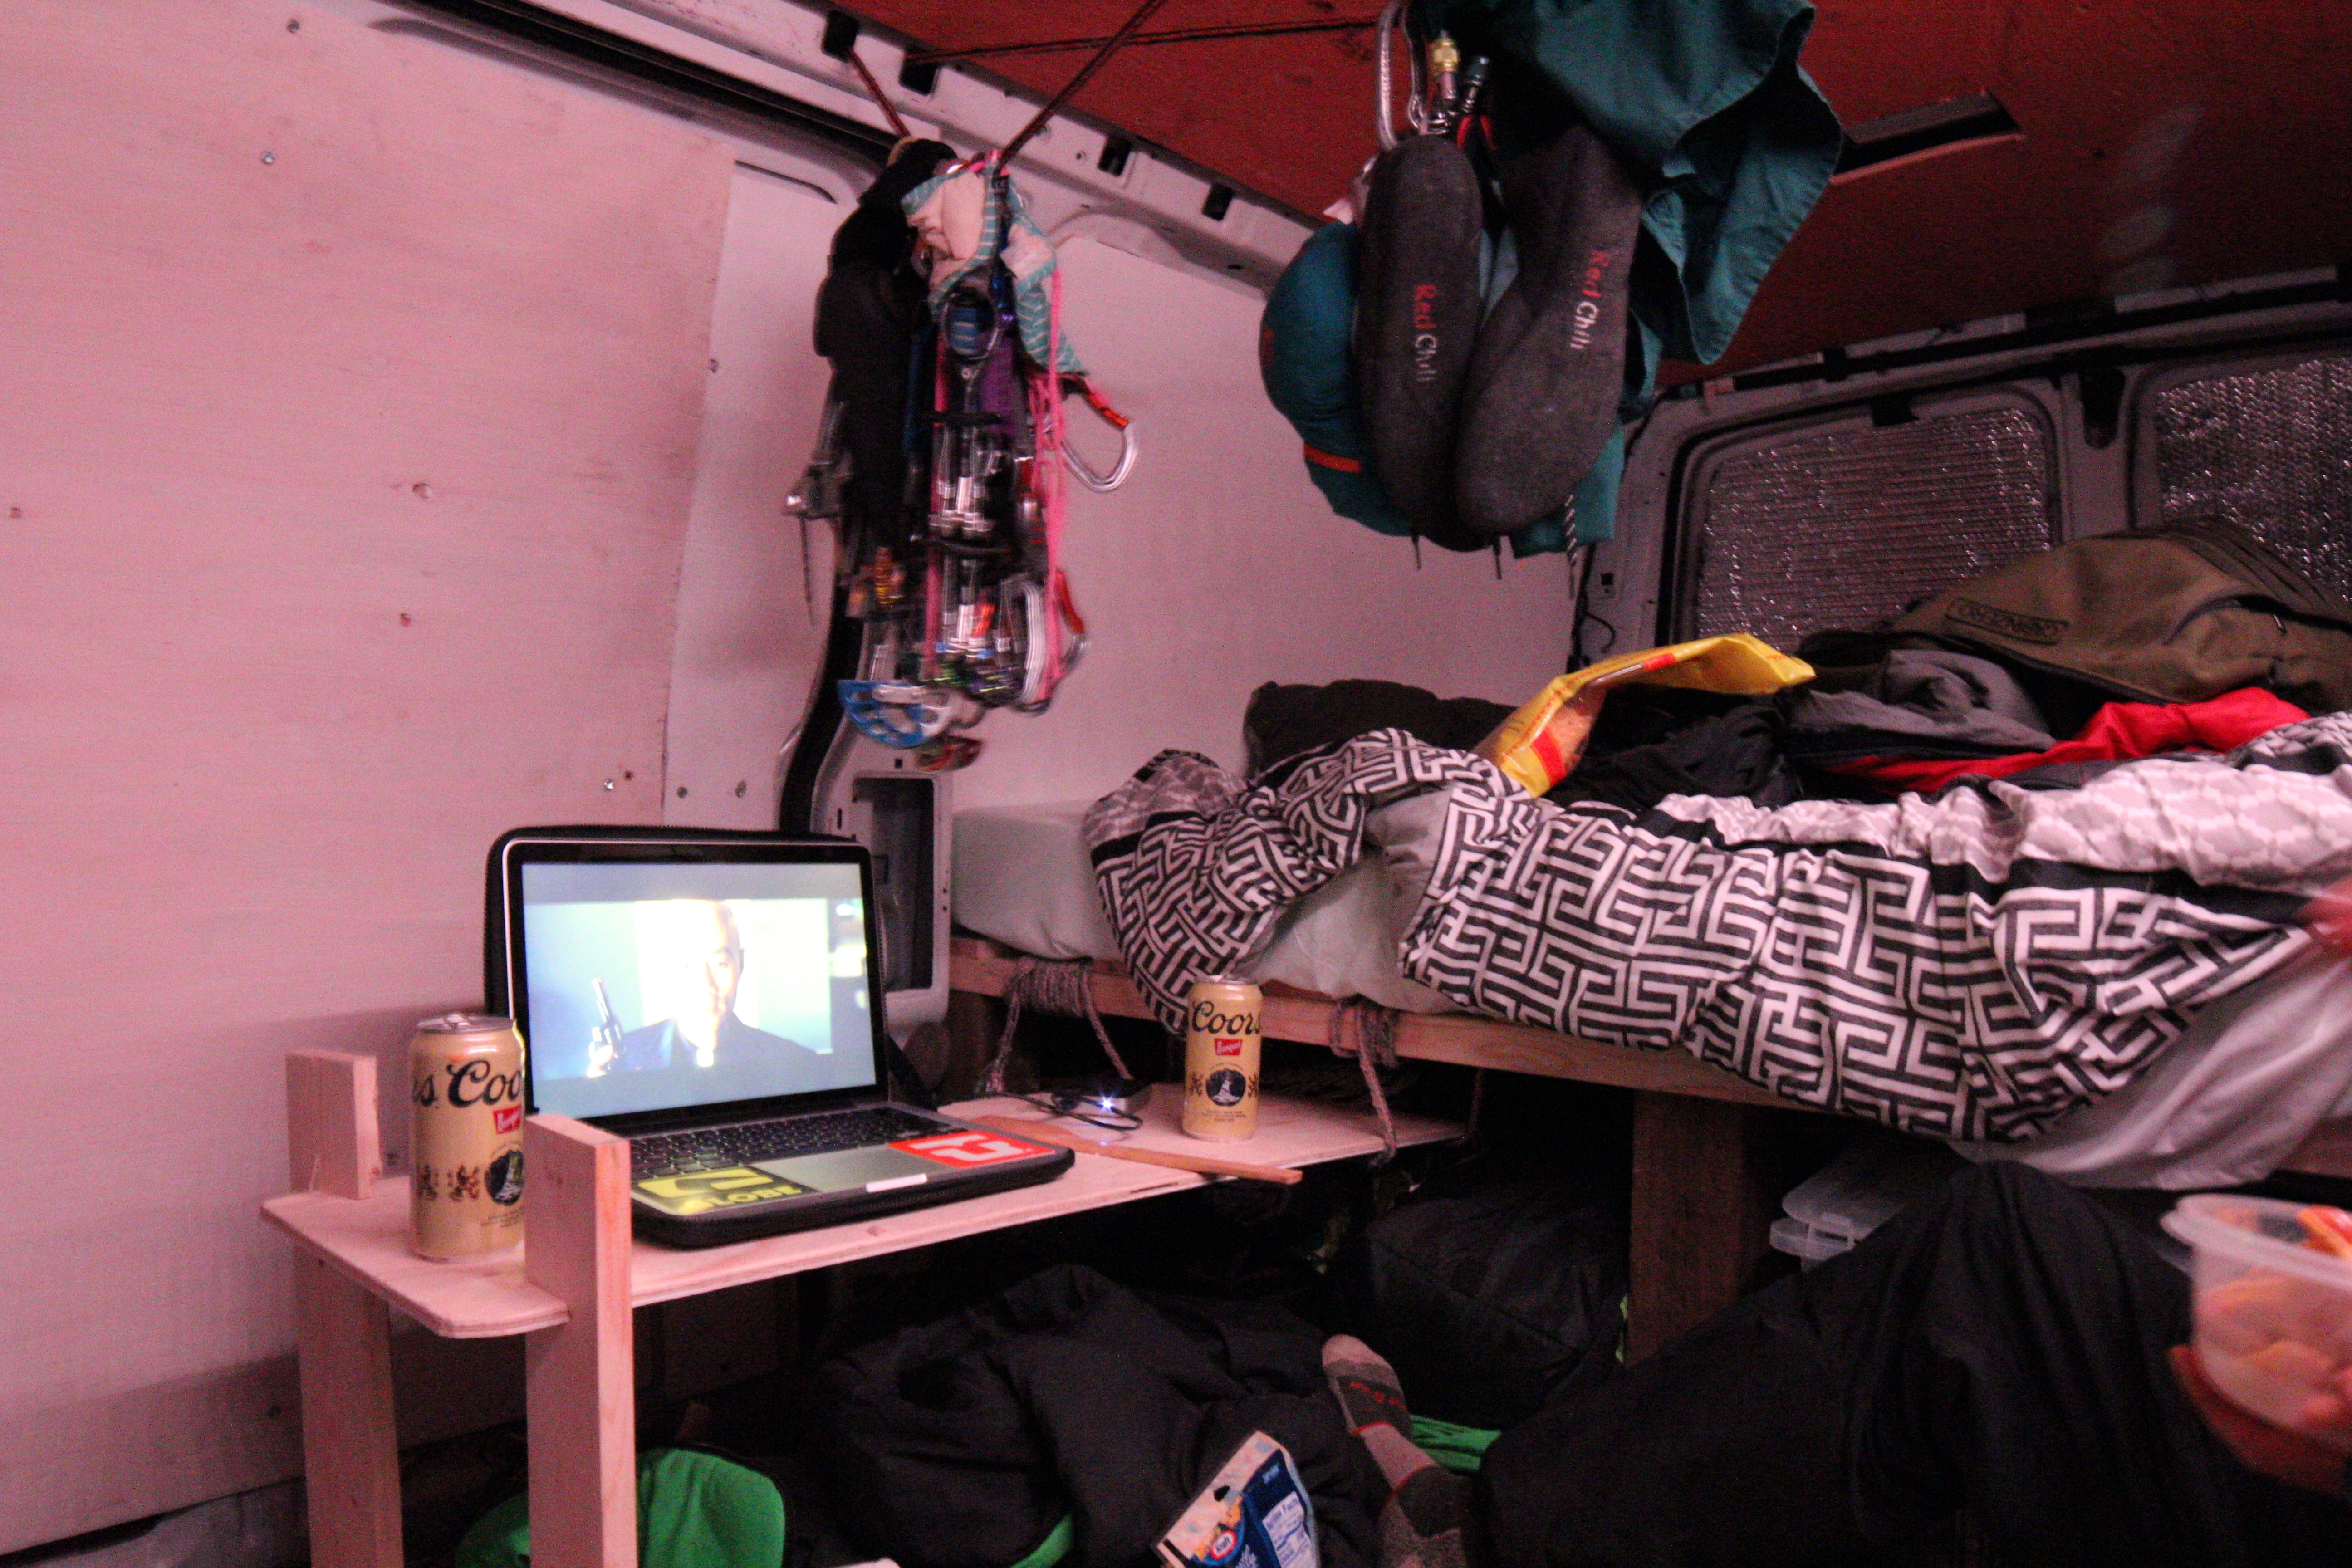
My friend had a great idea of designing a retractable coffee table that stows under the bed just using left over pieces of wood and old rope.

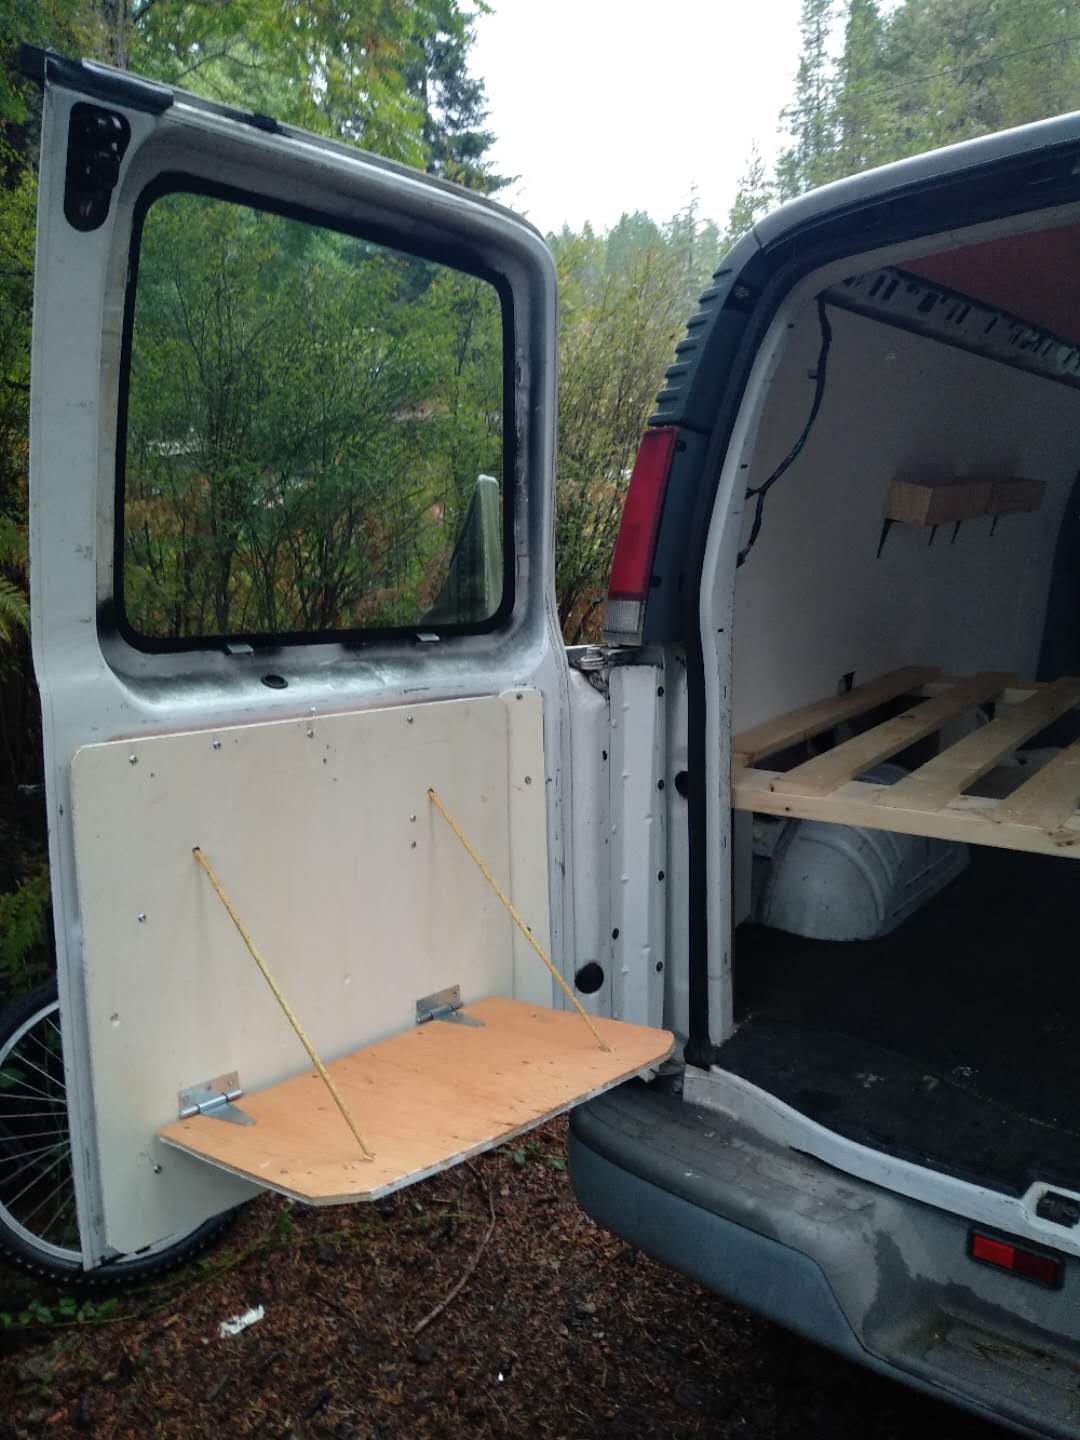
And the centre piece for any campfire or outdoor social: a fold down bar / food prep table.
The reflectix sheets were then cut to fit in any window spaces. These work great to not only keep out light and prying eyes, but it also works as insulation. I have since put cloth over them, secured using gorilla tape, to make them more aesthetically pleasing, as well as adding a curtain separator between the cab and back.

Another absolute essential was adding a light source, so as not to drain your van battery each evening. I went with a magnetic light strip, which is easy to attach anywhere in your van. It runs off of a power bank, which is a great alternative to setting your van up with a marine battery and the full works, as you can charge the power bank through your vans cigarette lighter port.
Alternative Option: Using Van Conversion Kits
A van conversion kit is a complete solution for converting your standard cargo van into a camper. Conversion kits usually include pre-built furniture like cabinets and bed frames. It’s a much easier and hassle free way of converting.
If you’re looking to speed up the conversion process, you can use pre-made cabinets and bed systems. Check out Van2B van cabinets. They may cost a little more than the DIY approach, but they provide a polished finish, are easy to install, and can save you a load of time. Van2b offers a range of cabinets designed for popular van models like the Sprinter, Ram, and Promaster, and they’re working hard to expand their range to include cabinets for smaller vans like the Chevy Express.
STEP 8 – ROOOOOOOOAD TRIP!
Once you’ve reached this step, you have hopefully turned your van into a home on wheels. And it’s time to head out and enjoy the sweet sweet van life!
My first trip was a 7,750km adventure from B.C. Canada, straight to Yosemite Nation Park, around the Sierra, down to Los Angeles and back again.
I spent the majority of the following year living in my van. I used the lessons learnt from that to write up The Ultimate Guide for Van Life & Road Tripping. Check it out! There is an absolute ton of good info in there to get you going.
Thanks for reading along with the Chevy Express simple van conversion.
And if you have learnt something of value, you can say thanks by buying me a pint!
Please feel free to reach out on Instagram – I’d love to see how you implemented some of the ideas you found here, or just to show off your sweet home on wheels!
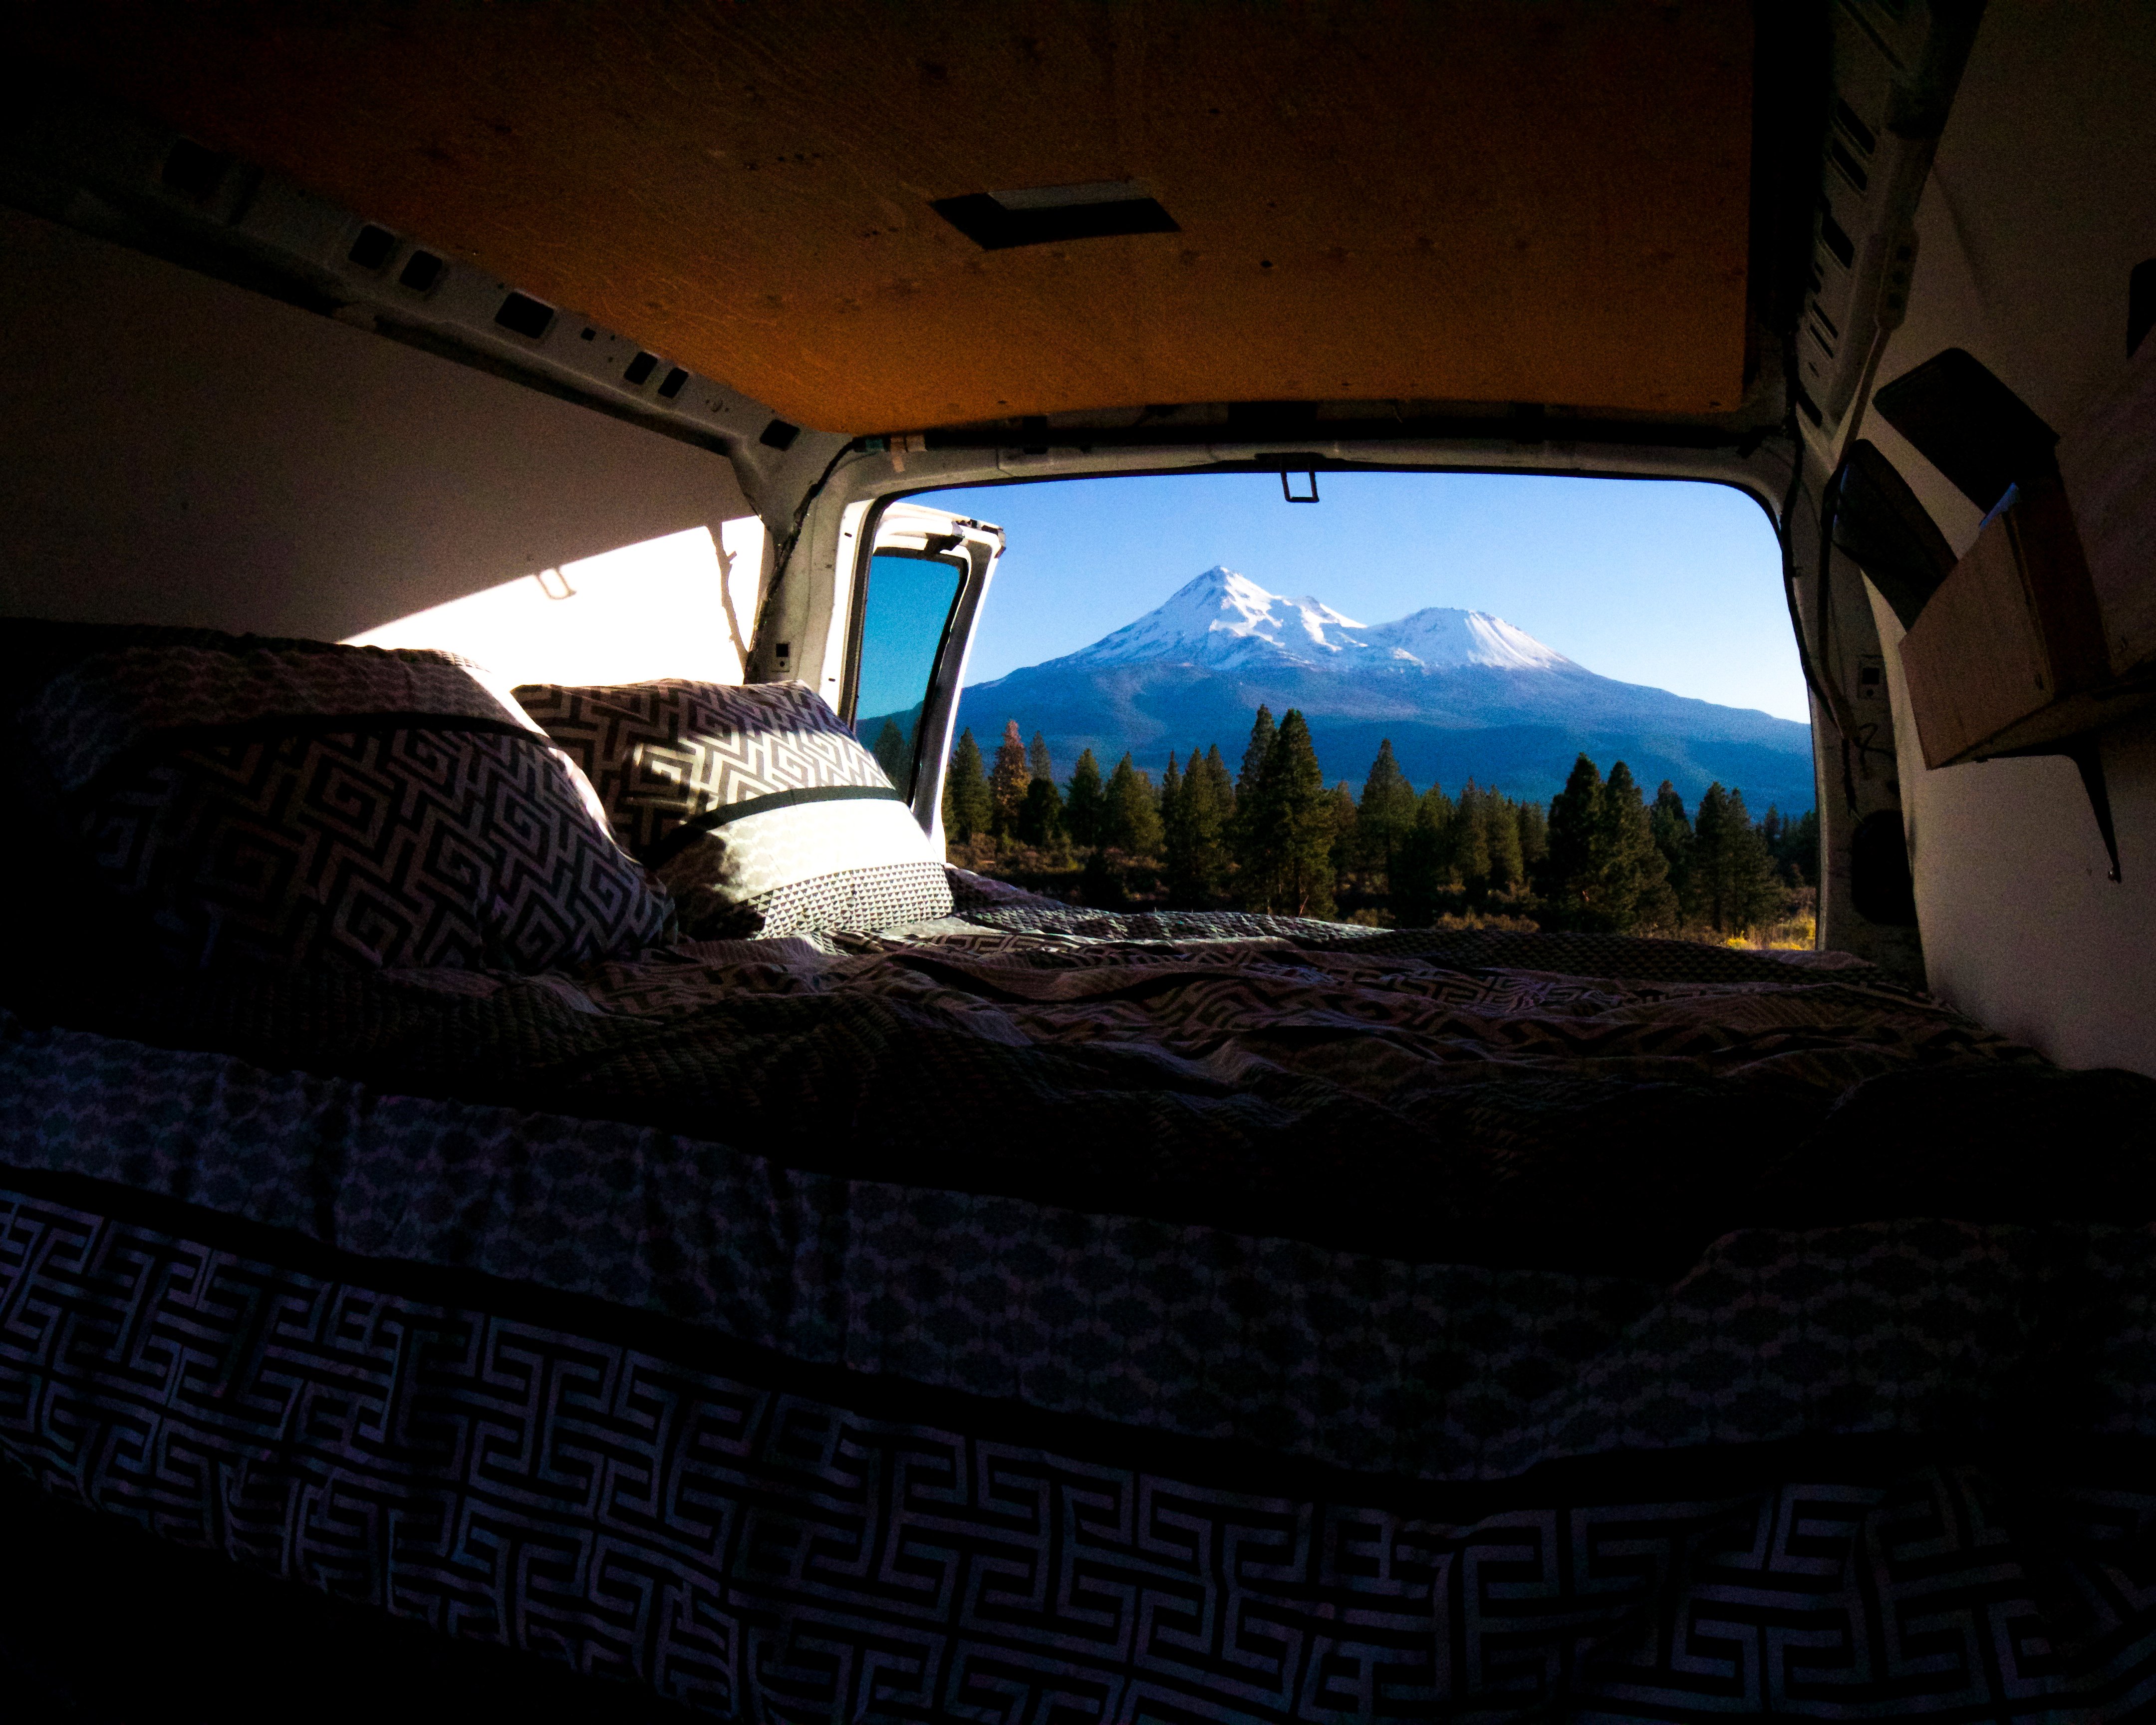
Here are some of the highlights of mine:




Pingback:The 3 Best Used Vans for Camper Conversions | Outdoorsy Nomad